Settings for DashiX – Dashboard Plugin for Revive Adserver
These look ahead and look back time frames can be adjusted to match your preference or your organisation’s work flow.
To change these settings, first make sure that you’re logged in as a System administrator, or ask your system administrator for assistance.
Next, go to the Plugins tab of the Revive Adserver installation and find the Dashboard plugin in the list. Click the Details link for DashiX.
On the details screen of the Plugin, click the Settings link.
Click image to enlarge
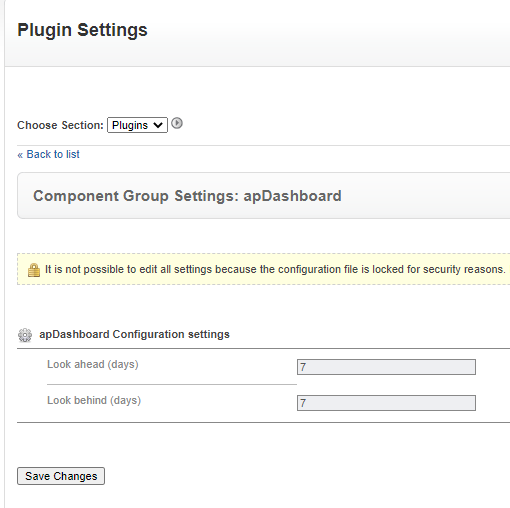
On the settings screen, you will find two fields.
- In the first field, you can enter the number of days for the look ahead time frame. The default is 7 days.
- In the second field, you can enter the number of days for the look back time frame. The default is 7 days.
Please be aware that if you enter a (very) large number in either of these fields, it will trigger database queries that look at a longer date range, and thus will take much longer to complete. This could result in database time-outs.
Click image to enlarge
These settings, once modified and saved, are stored in the Revive Adserver configuration file in the ‘var’ folder.
You can also edit the settings directly in the configuration file.
Here is an example of what this could like in the configuration file.
[apDashboard]
lookAheadDays=14
lookBehindDays=21


